How to DIY Your Website
Organization and Creative Focus Strategies from a Pro Designer
If you're planning to DIY a website from scratch, it can definitely feel overwhelming. And if you've ever tried before, you know how easy it is to get distracted and discouraged. That’s why I’m sharing my professional designer advice for creating your DIY website with organization and focus. As someone who designs for small business owners, especially photographers and birth workers, I’ve honed these skills through countless projects. Today, I’m sharing what I’ve learned so you can confidently get started. My goal is to help you kick off your project, keep it on track, and make the process enjoyable. Let's dive into the essentials you need to know before you start designing your DIY website.
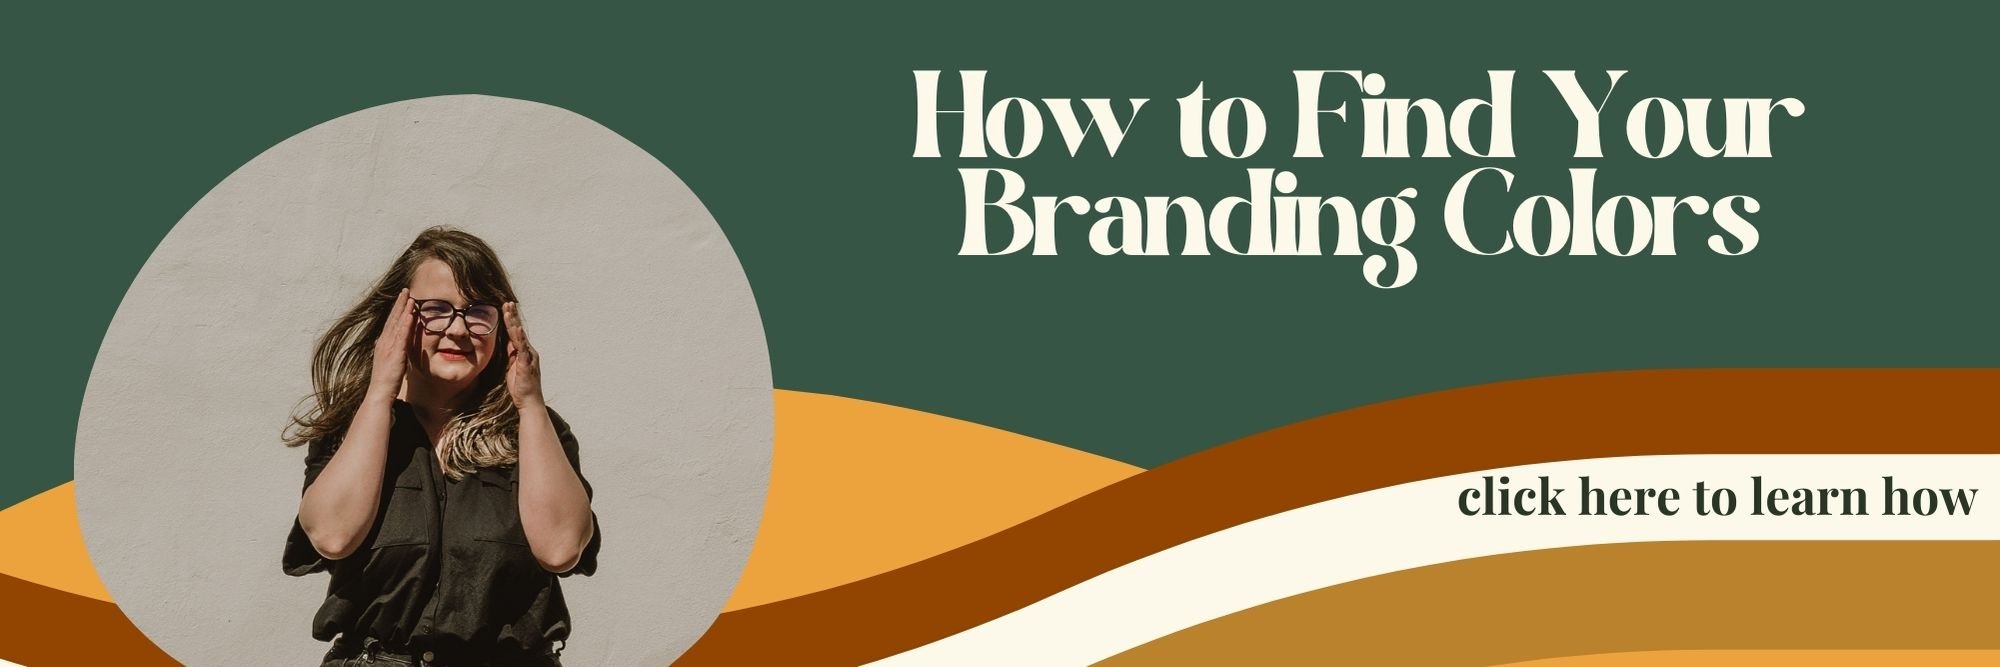
1. Get Your Branding Figured Out
Before you even think about starting your website design, nail down your branding. This includes your colors, fonts, logo, and overall vibe. Your brand identity sets the tone for everything else, so take the time to get this right. Think about what colors resonate with your business values, what fonts reflect your style, and how your logo communicates your brand's essence. Also think about the lasting impact you want to have on your website viewers. Knowing this will help you make so many choices in the design from what photos you share of yourself to the tone you use to write each paragraph. Once your branding is cohesive, everything else will fall into place much more easily.
2. Prepare Your Images
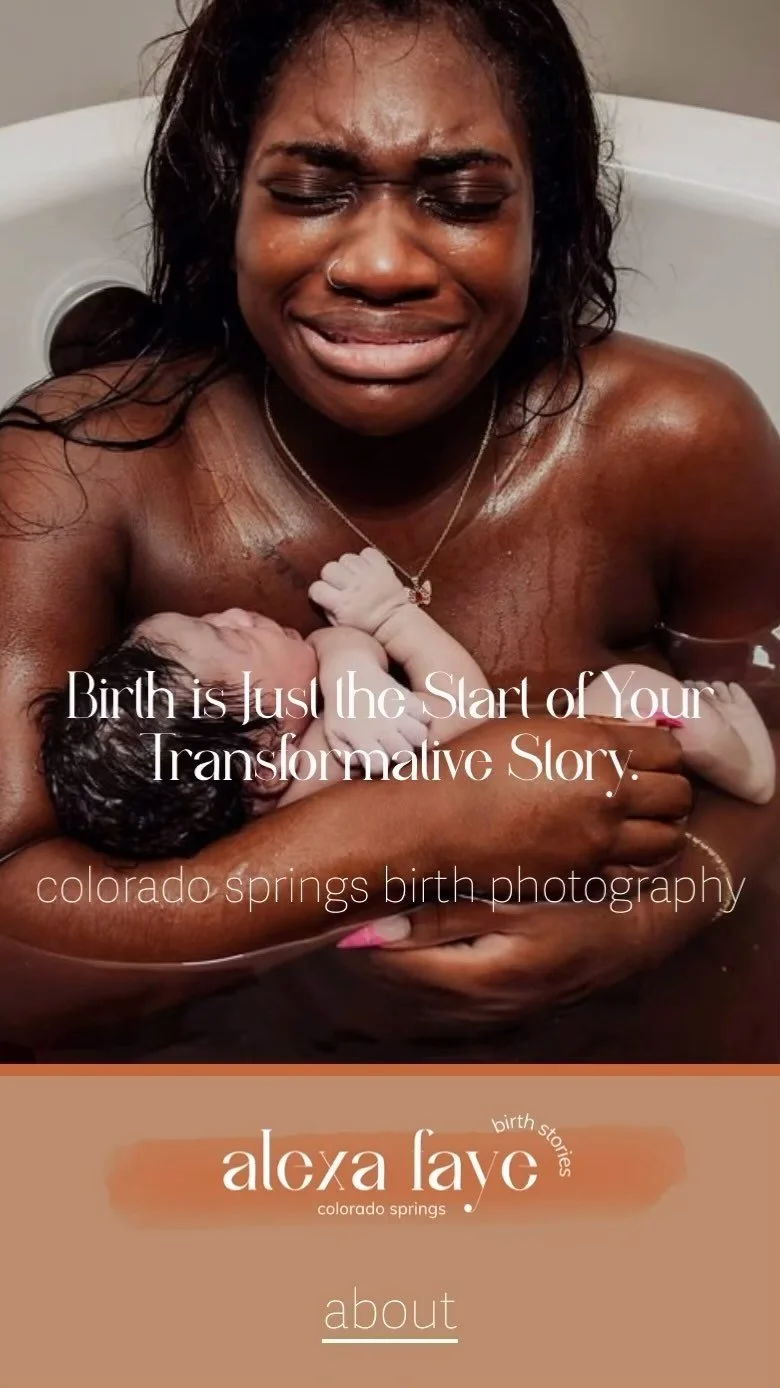
Images are a huge part of your website’s appeal. For my photography clients, I start with a hero gallery of their absolute best images—around 20—so I know to use them in high-traffic areas. Then I create smaller galleries of other favorites to be used for portfolio pages or smaller feature spots in the future design. For birth workers or non-photographers, I organize the website based on the photos we have available. Do you have headshots, usable selfies, or behind-the-scenes photos? You don’t need only professional shots, but knowing what you have is crucial for knowing how to design the website. A photo-heavy design won't work for everyone, so plan accordingly. But I will say every service-based and human-focused brand needs photos so if you have zero I would add getting some photos done professionally on to your “to do” list!
3. Get Inspired by Other Designs
Pinterest is your best friend here. Look at websites you love and take notes on what elements stand out to you. Be sure not to copy other websites, as that's plagiarism, but let their ideas inspire you. Look at businesses in your genre and outside that resonate with your style. You might discover unique ideas you didn’t know you needed! Even as a designer, I’m constantly exploring other websites to keep that fountain of inspiration flowing for my brain so that no design I build feels stale or boring!
4. Draw It Out on Paper
For my old-school friends, sometimes drawing out your website design on paper can be incredibly helpful. I used to do this for the early websites I designed for my photography business because it kept me focused and organized, preventing me from getting bogged down by website design software I wasn’t quite comfortable with yet. Sketching a plan and wireframe on paper can give you a clear roadmap to follow when you start using Squarespace or another platform. It will also reduce the temptation to get distracted by learning how to code or add a new element which can really delay the process.
5. Organize Your Navigation and Pages
Create a brief plan for each page you’ll need. Think about what you want to talk about and feature on each and how accessible that information needs to be. Consider the client experience and what problem each page should solve. For instance, if they want to know more about you, make sure your About Me page builds trust and tells your story and in the same way make sure Your Home page is that SparkNotes version of your whole website, guiding visitors so they get to choose their own adventure on what they need to know next before booking.
6. Design Your Home Page First
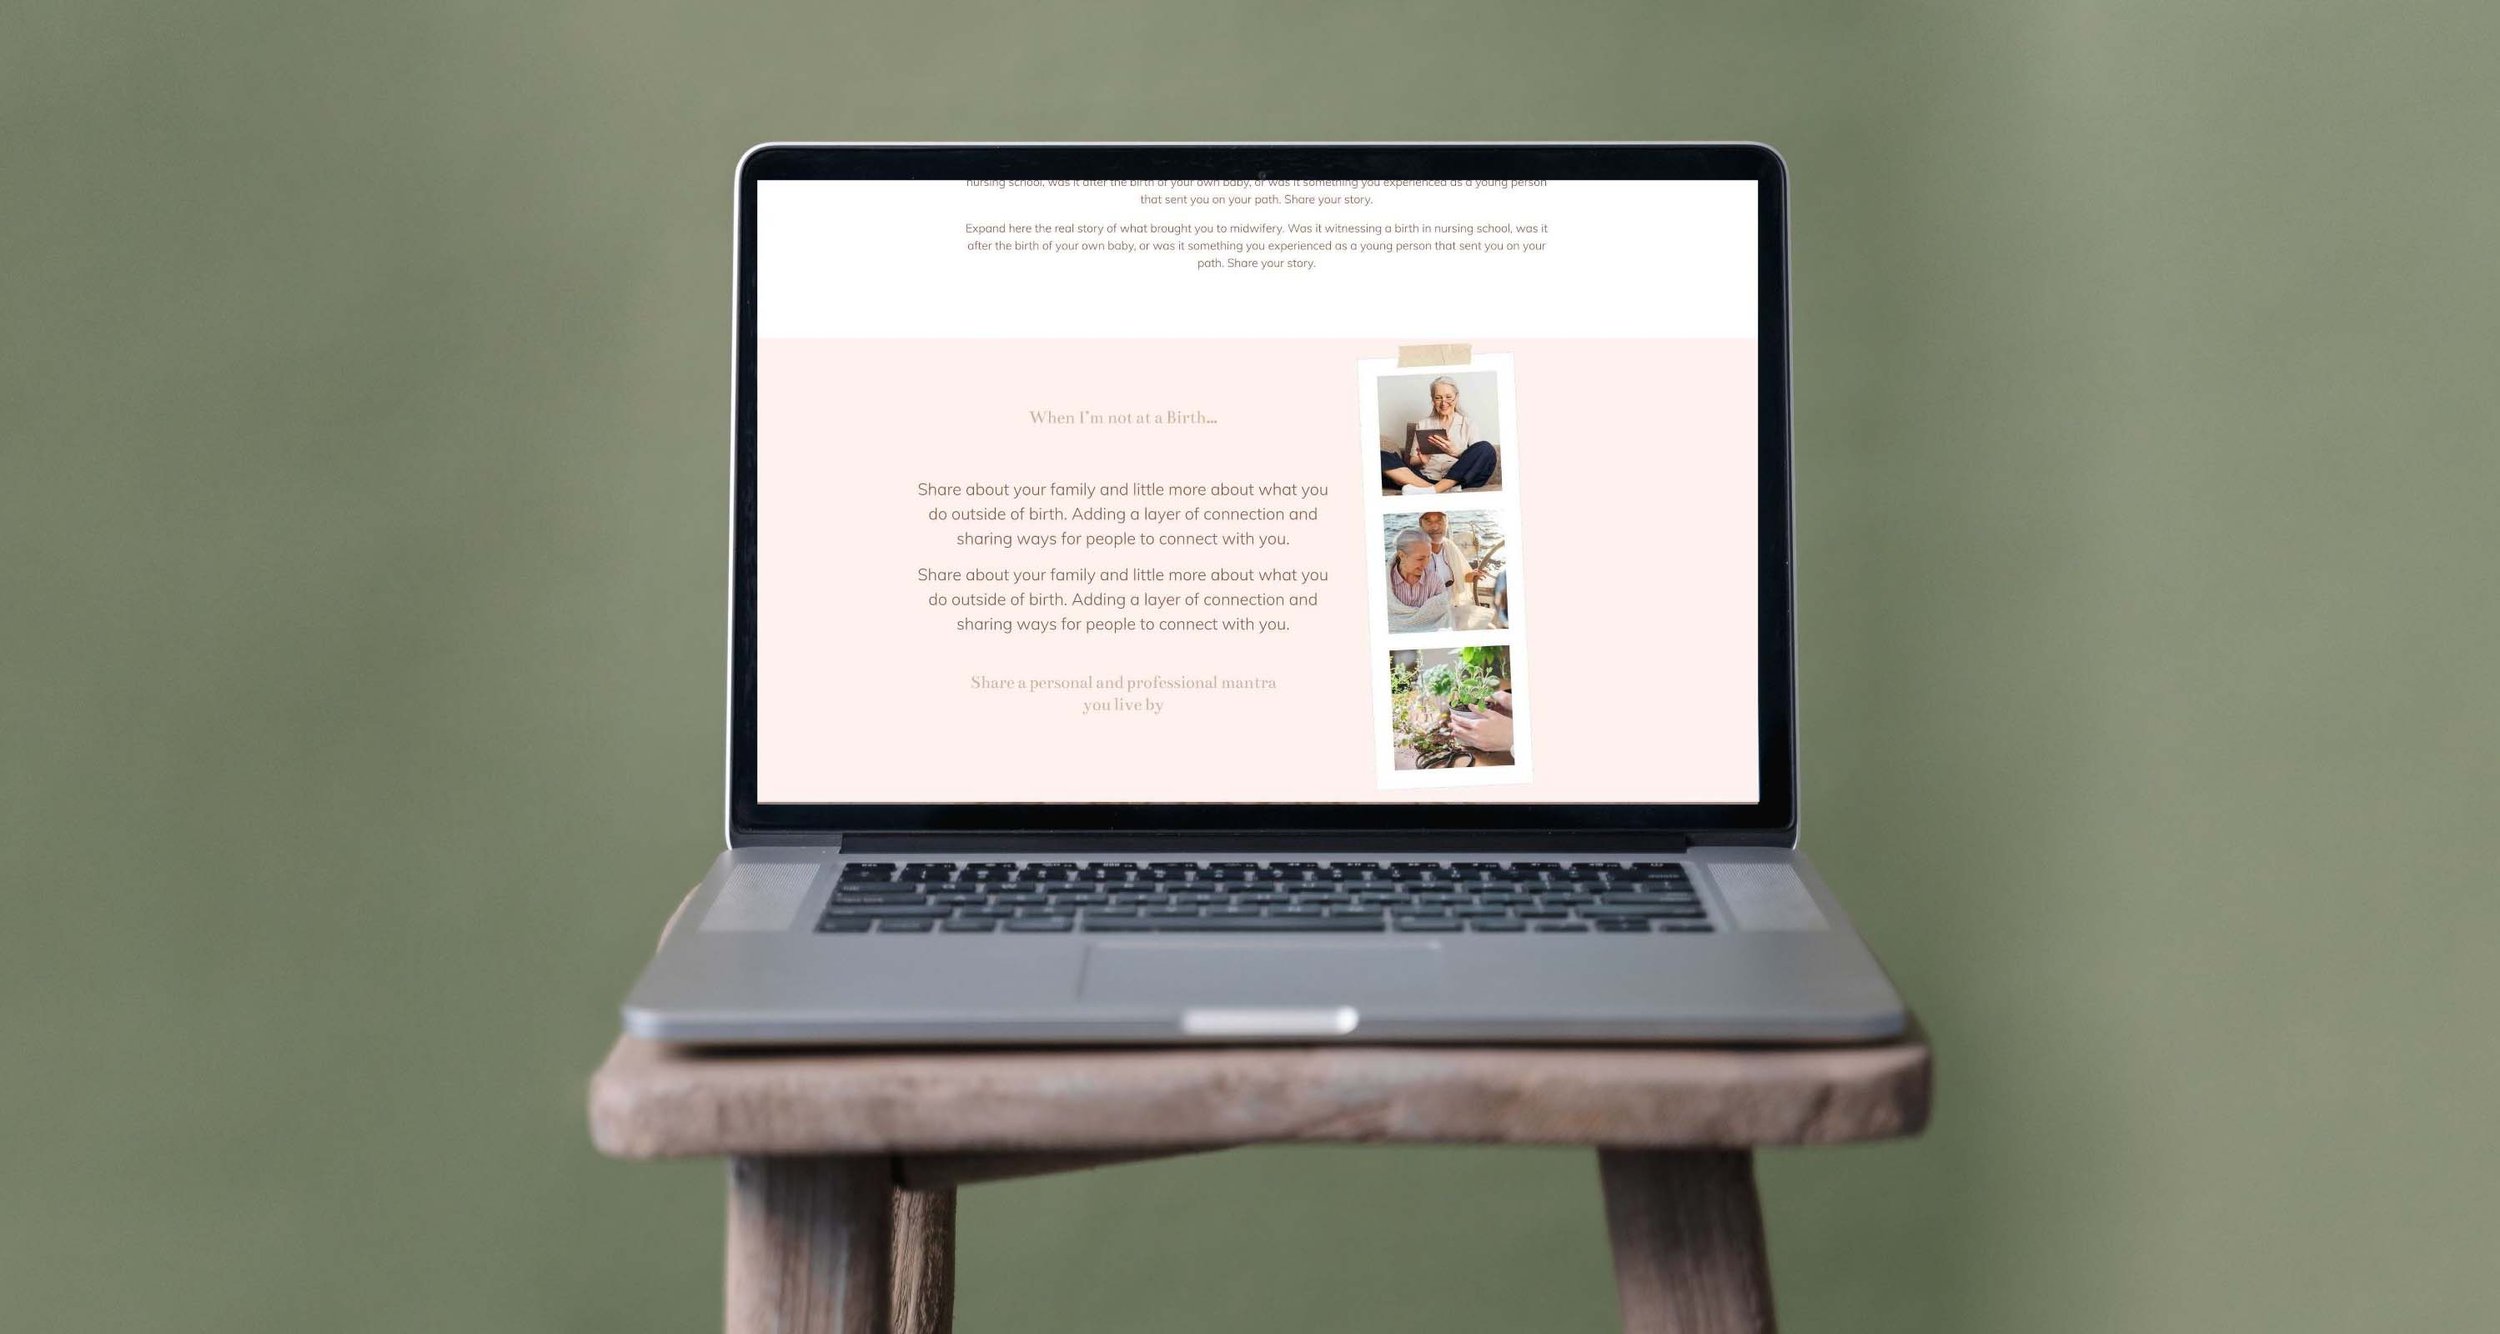
Now you are ready, so choose your website platform and I recommend starting with your Home page, leaving placeholders for photos and written copy. Write short prompts for yourself like “Introduce myself briefly here” or “Add a testimonial here.” You don’t need to have it all figured out immediately, but getting the wireframe set up will give you a solid foundation. This will also give you time to learn the designing features and get a hang of things before you add in photo choosing and website copy writing which can feel daunting and personal.

7. Duplicate and Recreate for Cohesion
Using the design choices from your Home page, duplicate and recreate similar blocks and pages throughout your site. You don’t want them to be copy/paste, but they should feel cohesive. This will help your site look polished and professional.
8. Finalize Image Choices and Write Copy Last
Once your wireframe designs are finished, go back and choose the most impactful images and write the copy for each section. This can be the most stressful part, so it’s wise to leave it until the end. You don’t want to delay the design because you’re trying out 100 different photos for the hero spot on the Home page. Just make the leap and choose your favorites—you can always change them later.
For copywriting, stick to your planned prompts and write in the tone you want to convey to your community. Aim for at least 500 words per page and use keywords like your location, services, and branding terms. If you get stuck, tools like ChatGPT can help generate a starting paragraph for you to edit and make your own.
Planning ahead is the key to a creating a strategic and quick DIY website design. By getting your branding sorted, preparing your images, gathering inspiration, sketching out your ideas, organizing your navigation, and creating a cohesive design, you’ll set yourself up for success.
Remember, your website doesn’t need to be perfect from the get-go. It’s a living, breathing entity that you can tweak and improve over time.
And if you ever feel stuck, remember that I’m here to help! Whether you need a quick tip or full-on design support, don’t hesitate to reach out. Let’s make your website as amazing as your business.

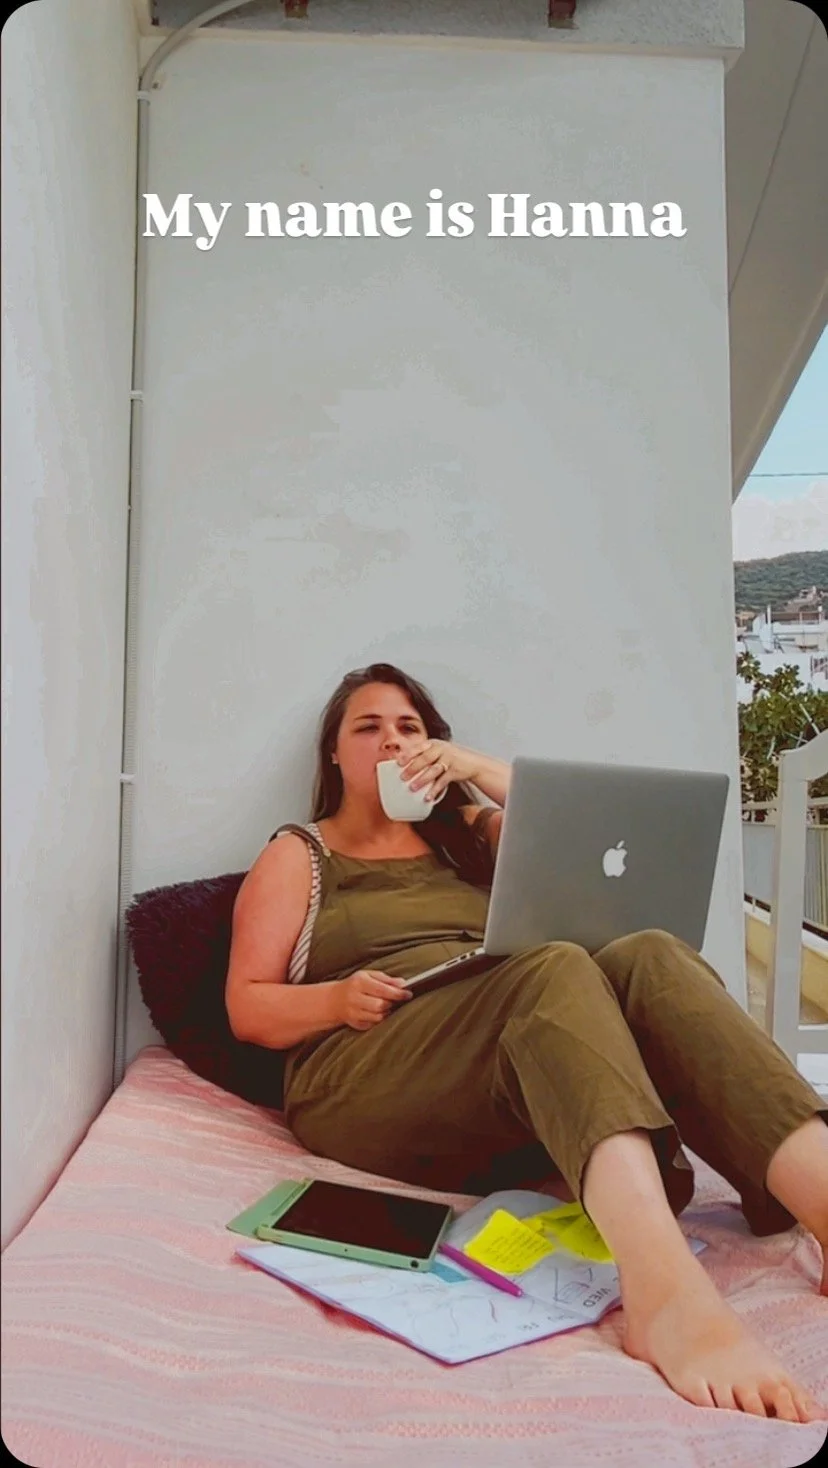
Hello Friend! I’m Hanna !
Web Designer, Marketing Strategist, Birth Photographer for the last 10+ years, #Boy Mom, and lover of supporting strong women who want to build empowered businesses!
What’s New on the Blog?


Have we met on the ‘Gram
@hannahillcreative
![Let’s talk marketing strategy[again somehow some of the steps didn't post last time]!
.
Sitting down to create and plan something that truly works for your business can feel daunting. But I firmly believe that taking the time to envision your g](https://images.squarespace-cdn.com/content/v1/642aaa6c666ae63f90a87cfb/1727118581793-WJ3HWXFF3G351AHT4T6F/image-asset.jpeg)


Recent Projects with Hanna Hill Creative


Ready to Take Your Business to the Next Level?
Social media has always been a messy, noisy, and often toxic space, but in times of crisis, it somehow manages to feel even worse.